 Puracam
Help center
Fixes for common scanning problems, how-tos and tips — the same articles as in the Puracam app. Type what you see, for example “walls appear twice” or “holes in the ceiling”.
No matching articles. Try different words, or contact support and tell us what happened.
Common problems
Space
- Walls or text appear twice ▶ VideoA wall, a poster or writing shows up twice in the model, slightly shifted, as if the room has two copies of it.
- Holes in the model, especially ceiling or floor ▶ VideoParts of the model are missing. Gaps often show up on the ceiling, the floor, or behind furniture.
- Blurry or smeared texture ▶ VideoWalls look smudged, streaky or faded, and details are hard to read.
- Glass, mirrors or open doors look brokenWindows, mirrors, glass doors and very shiny surfaces come out as torn patches, floating pieces, or are missing altogether. The view through an open door or window is often missing too.
- Too dark or washed out by windowsSome areas look dark and muddy, while areas near windows are blown out white.
- Several rooms look misalignedWhen you scan a whole apartment or house, rooms drift out of line or processing takes very long.
- Phone gets hot or the scan stuttersThe phone feels warm, the preview lags, or iOS shows a temperature warning.
- The mesh doesn't appear right after RecordYou tap Record and for a few seconds nothing shows on screen.
- Processing takes a long timeProcess runs for a long while, or the finished model is very heavy.
- Floating bits around the modelSmall loose pieces float in the air around the model, or stray patches stick out past the walls.
- People or pets walked through the scanSomeone walked past while you scanned, and now there are smeared shapes, ghostly bits or holes where they were.
- Walls or ceiling look wavy or bumpy ▶ VideoFlat walls, ceilings or floors come out with gentle waves, bumps or dents.
- A call or app switch interrupted the scanA call came in, you locked the phone or switched apps in the middle of a Space scan, and now the scan seems off or shows a warning.
- Floor plan stopped during a Space scanWhile scanning a space with Floor plan turned on, the app shows “Floor plan stopped to save memory — the part already scanned is kept.” The Floor plan button also shows a warning sign.
Object
- Object capture failedThe app reports an error or says it couldn't build the model from your photos.
- Not enough storage for an object scanThe app says there isn't enough storage. This can show up as soon as you open the Object scan screen, not only while the model is being built.
- Shiny or transparent objects look badA glossy, glass or see-through object comes out warped, bumpy or with holes.
- The bottom of the object is missing ▶ VideoThe model looks fine from above but has a hole or flat patch underneath.
- A stand or base is stuck to the modelThe thing holding your object up shows up as part of the model.
- Thin parts are missingWires, straps, leaves, thin legs or open weaves come out broken, blobby or missing.
- You can't walk around the objectThe object sits against a wall or can't be moved, so you can't circle it and the scan fails or misses sides.
- Shadows are stuck on the modelDark shadows or bright spots from the room are painted onto the model and stay there whichever way you turn it.
Floor Plan
- Walls, doors or windows are missing ▶ VideoThe plan has gaps where walls should be, or a door or window wasn't picked up.
- A large room comes out wrongIn a big room or hall, the plan is skewed or walls don't meet.
- Furniture is missing or the wrong type ▶ VideoA sofa, bed, table or cabinet doesn't show up on the plan, or shows up as the wrong kind of item.
- Floor plan measurements look offA wall length or room size on the plan doesn't match what you measured with a tape.
All modes
- Exported model looks different elsewhereYou open the exported file in another app, such as Blender or Sketchfab, and it looks darker or different.
How-tos
- How to scan a space ▶ VideoWalk slowly around the room once, tilting up and down to cover walls, ceiling and floor as you go, and stop where the last wall meets the first.
- How to scan an object ▶ VideoPlace the object on a surface and circle it twice: once a little above its height, then once from higher up, looking down. Then turn it over when the app asks, to capture the bottom.
- How to scan a floor plan ▶ VideoWalk along the walls with the phone at chest height and look at every door and window.
- Which export format should I use?Open the scan's Share screen, tap Export a file, then pick the format that fits where the model is going. Without Pro you can export OBJ; scans made with your free Object scans can use every format.
- How to share a 3D linkSend a link anyone can open in a web browser, no app needed. Open the scan's Share screen and tap Share a link.
- How to measure in a scanOpen a scan and tap Measure. Pick Ruler, Pen or Area, then tap points on the model.
- What's free and what needs Pro?You can scan spaces and floor plans, process them, look around, measure and try every editing tool for free. Pro is about getting more out: more formats, saved edits and more sharing.
- How to find your scansEvery scan is saved in your Library. On Home, tap See all next to Recent to open it.
- Using Puracam without LiDAR3D scanning needs the LiDAR sensor, found on iPhone 12 Pro and later Pro models, and on iPad Pro 2020 and later. On other devices you can still open Puracam files people share with you.
Videos
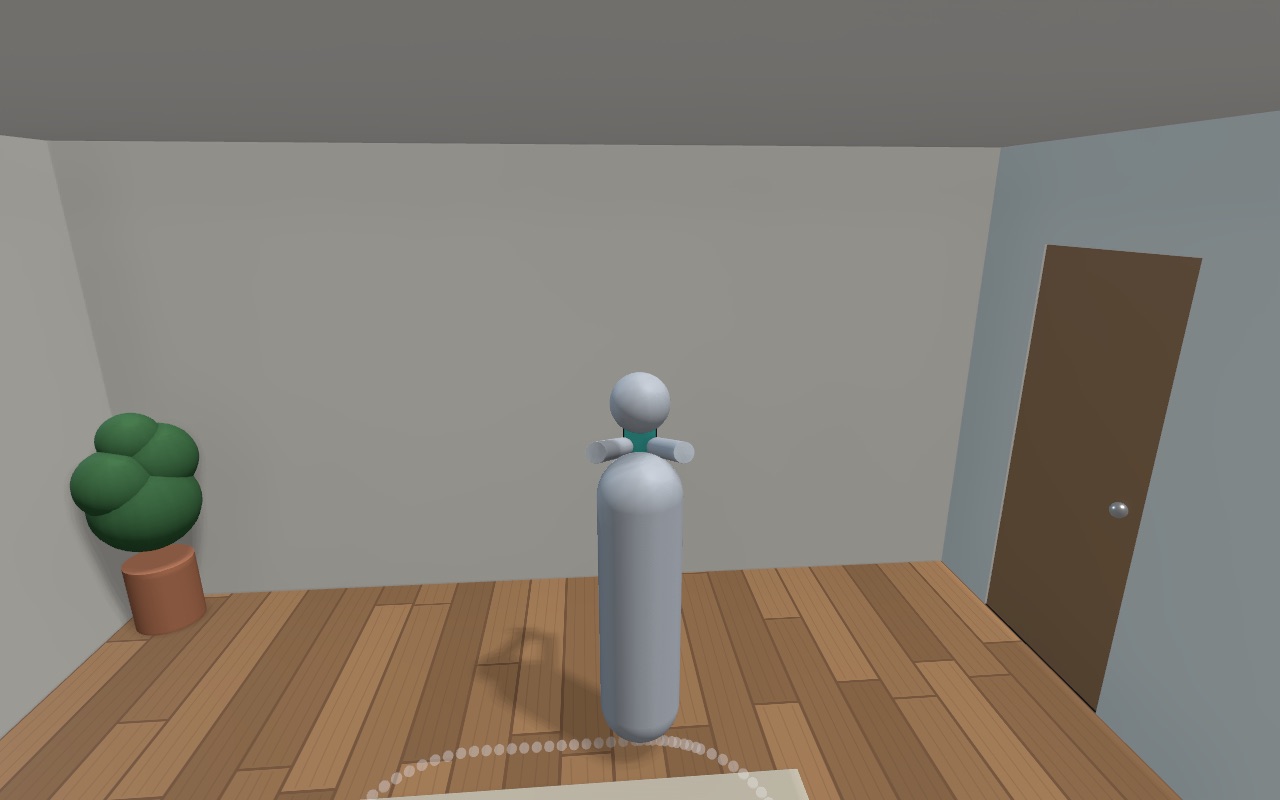 How to scan a spaceSpace · 1:32
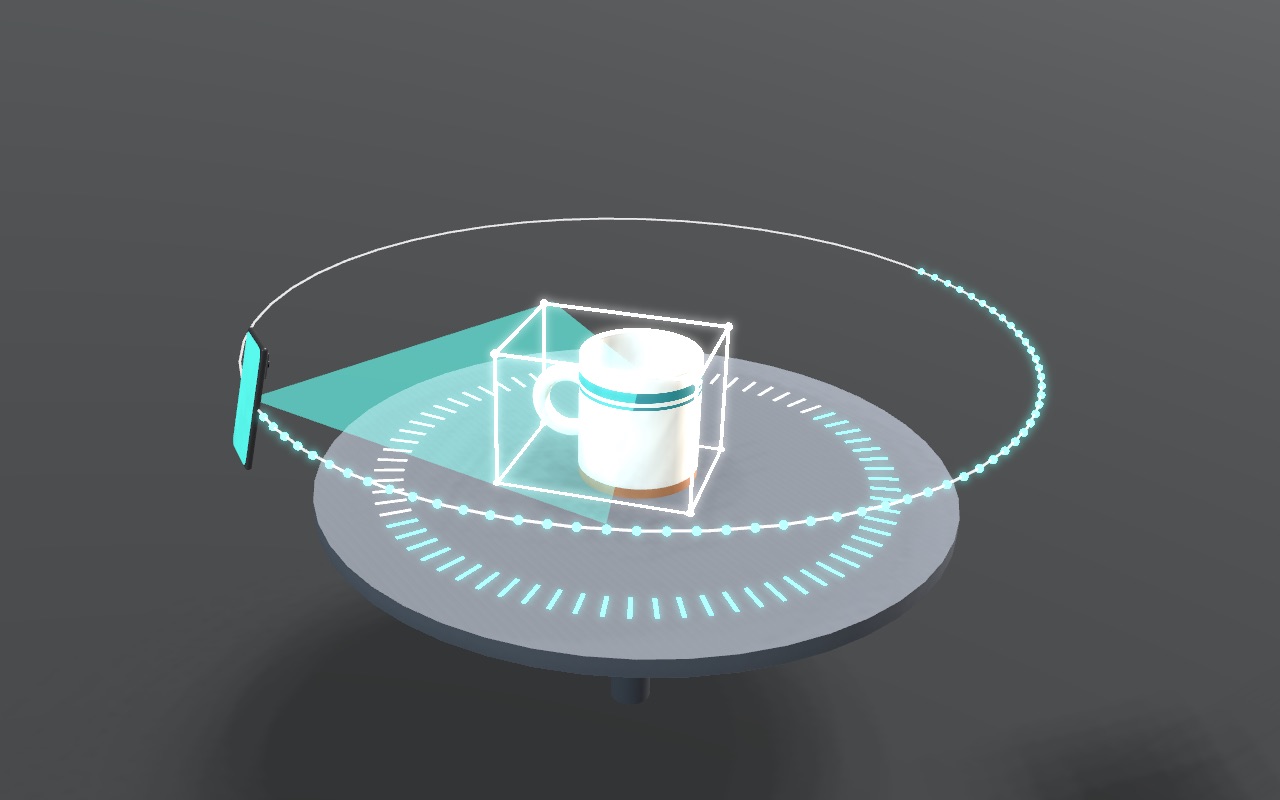 How to scan an objectObject · 0:52
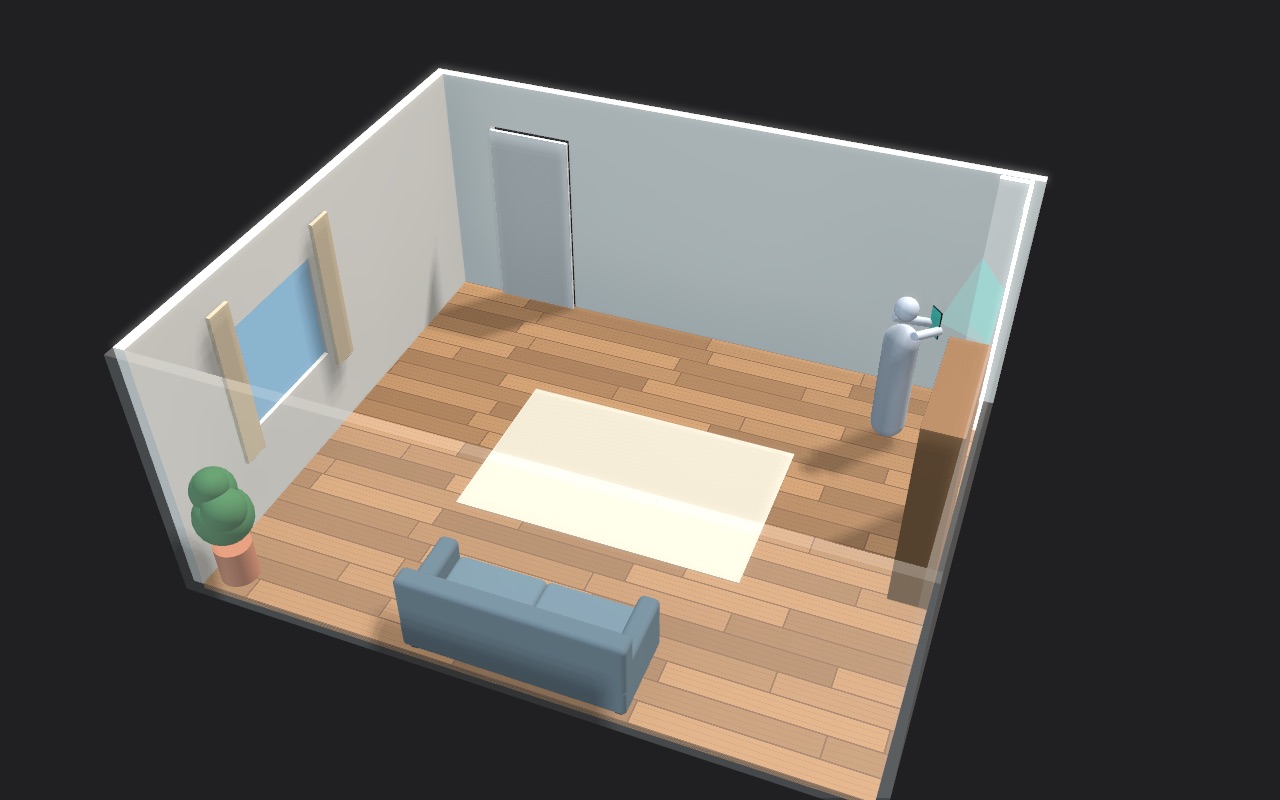 How to scan a floor planFloor Plan · 0:39
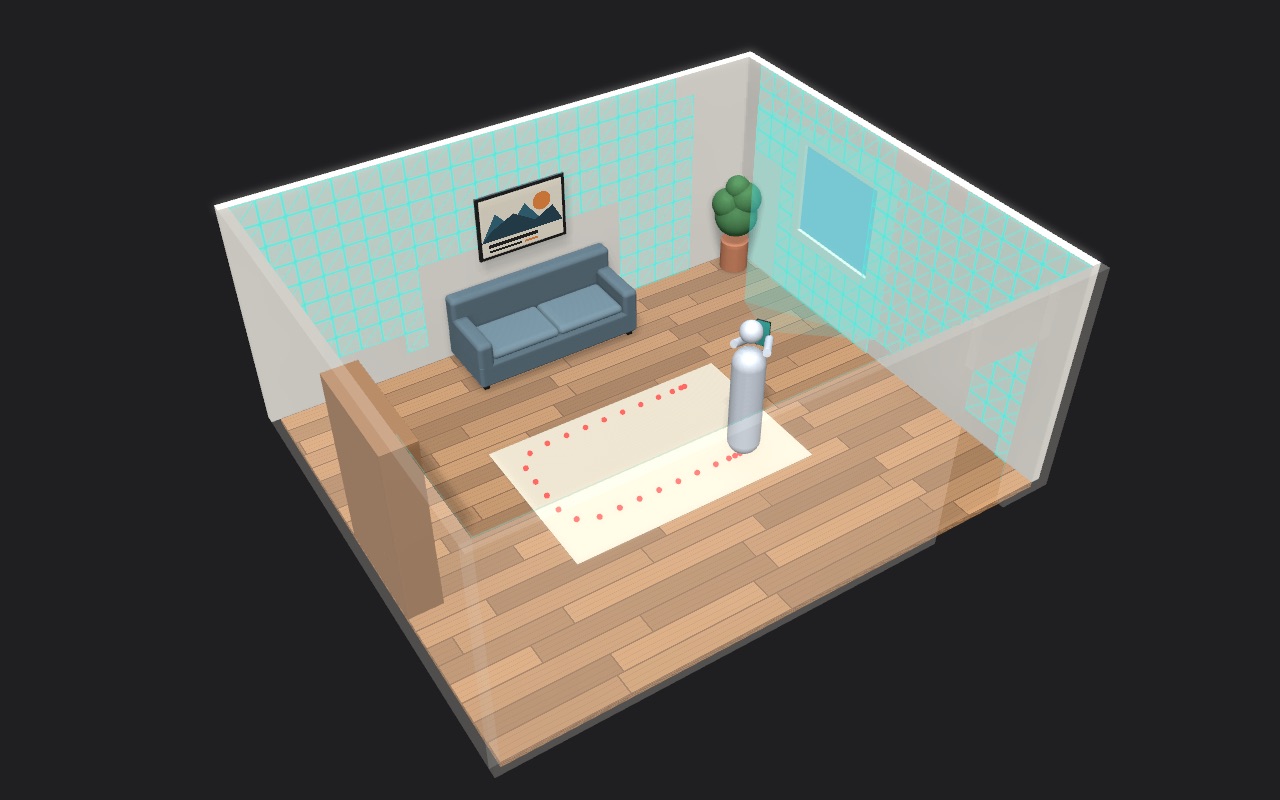 Avoid doubled wallsSpace · 0:42
Tips by mode
Space
- Move slowly, overlap what you just scannedMove steadily so each new view overlaps the part you just scanned by about a third. Scanning too fast drops frames and leaves holes in the mesh.
- Even lighting, avoid backlightTurn on room lights and avoid facing directly into windows. Areas that are too dark or blown out make the texture blotchy even when the geometry is correct.
- Avoid glass, mirrors, and glossy surfacesLiDAR passes through glass and reflects incorrectly off mirrors, creating floating patches of mesh. Cover them or accept skipping those surfaces.
- Large places: one connected pass or separate scansEach pass is saved as its own scan, and the app doesn't join separate scans together. So for one model, keep the pass connected: walk slowly through doorways and glance back into the room you left. Very long passes drift more, so if separate models for each area are fine, scan them as shorter passes.
- Stay within about 2.5 mDepth is most reliable within about 2.5 m, and orange areas only fill in when you're that close. Past about 5 m there's no depth data at all, leaving holes. Very close up, under about 0.3 m, depth gets noisy.
- Don't forget the ceiling and floorAt each stretch of wall, sweep up to the ceiling and down to the floor, and keep sweeps close enough that no thin gaps are left between them. Step on only when that stretch is fully covered. That way one walk covers it all, without a second round.
- Stop where the last wall meets the firstWalk around the room once, in one direction. When you reach the wall you started on, overlap by about a step and stop. Sweeping over walls you scanned a while ago can add a second, slightly shifted copy of them.
- Need a break? Pause firstTap the shutter to pause. Nothing is recorded while paused, so you can move freely. Before you tap again to resume, go back to where you paused and point at what you were scanning then. Try not to switch apps mid-scan: the phone can lose its place.
- Keep the phone coolScanning works the camera, LiDAR and processor hard. Take the case off, stay out of direct sun, and let the phone cool between long scans. A hot phone slows down and the scan can stutter.
Object
- Pick a matte, textured objectObjects with visible detail reconstruct best. Shiny, transparent, or plain single-color objects give the camera nothing to match between photos.
- Use soft, even lightDiffuse indoor light or an overcast day works best. Avoid hard shadows and direct sunlight — they get baked into the model's texture.
- Leave room to walk all the way aroundPlace the object on a table away from walls, on a surface that contrasts with it, so you can circle it without bumping into anything.
- Object or Area?Use Object for things you can walk all the way around, like a shoe, a vase, or a chair. Use Area for surfaces you can't walk around, like a wall relief or a statue against a wall — best under 6 ft (1.8 m) across. Pick it from the menu next to the shutter before you start.
- Circle it at several heightsFollow the steps on screen: one loop a little above the object's height, then one from higher up looking down, keeping the object where it is. Each loop fills in angles the others can't see.
- Flip it to capture the bottomFor rigid objects, turn the object over when prompted and scan another pass. Skip this for soft or deformable objects.
- Keep the object stillDon't move the object during a pass, and keep hands, pets, and other items out of the frame.
Floor Plan
- One room per scanStart inside the room, near a corner, and finish the room before moving on. Scan each room of a home as a separate floor plan.
- Turn on the lightsWalls, edges, and furniture are recognized more reliably in a well-lit room.
- Walk along the walls, camera at chest heightSweep slowly so every wall, corner, and edge is seen. Pointing at the floor or ceiling for long adds nothing to the plan.
- Show doors, windows, and openingsPoint the camera at each door, window, and opening until it's outlined on screen, so it appears in the plan.
- Capture furniture from the sideBeds, sofas, tables, and cabinets need a clear side view to be recognized and placed on the plan.
- Best for rooms up to about 9 × 9 mLarger spaces take longer and drift more. Each scan becomes its own floor plan, and the app doesn't join separate scans, so if you split a big area, split it at a doorway or another natural break.